Pages

Showing posts with label 2013 projects. Show all posts

Sunday, December 22, 2013

Christmas Decor


Since Thanksgiving was so late this year, I decided to put up my tree the weekend before Thanksgiving, the week I normally put it up.  So, I dragged everything from the top storage rack in the garage which was a feat in istelf considering how stuffed our garage is on the "main floor".  I couldn't get the ladder close enough to the bag o' tree, so I had to step up past the warning label of DO NOT STEP HERE OR YOU WILL SURELY DIE. And I had to use some stick-like apparatus to grab the bag's handle to get it close enough to me.  After letting everything drop from the top level to the floor, I got down and pulled everything into the house. 

Before I could even start putting up the tree, I had to remove one of the end tables and all the piles of books and extra bags (we seem to acquire a new tote bag every time we leave our house!) and straggling toys that were caught underneath.  When I was finally done with all that, I plugged in our meager pre-lit tree and zero lights were working.  They were all burned out.  I wasn't too surprised because we've had the tree for several years. 

I put a string of the outdoor garland with large, colored lights on the tree hoping to fill in the gaps between branches (I did say meager, didn't I?).  After I wrapped it all the way around, painstakingly ensuring that it was even and trying to be patient with my five-year-old who was "helping", I plugged it in.  About 50% of the lights were working.  Yahoo, that's improvement! 

So, I ended up taking it off altogether and tossing them in the trash.  Let's face it.  They're outdoor lights, for OUTSIDE the house, and we all know that's not going to happen with how our schedules work out normally.  So, they were tossed.  I vowed to hit Menards the next day and get lights.

Well, I did get the lights and I even bought a few extra strings to put up in the front windows.  But it still took me a few days before we got the lights on.  In the meantime, the kids were oh-so-impatiently waiting for the ornaments to be hung and I kept catching them opening the ornament box and trying to hang them up.  One night, I was watching my friends' kids that are close to my kids' ages and they just love playing together.  They were in the playroom playing with music stuff and cars and superheroes, just having a grand ol' time.  I walked to my bedroom for about a minute and when I come back, they're all at the tree trying to hang up the ornaments! LOL!!  The youngest one was bouncing the ornament bulbs on the floor, probably expecting it to bounce back to him like a ball. 

It's a great thing that I'm too cheap to buy nice, glass ornaments because that would've been a fun trip to the E.R.  It was pretty funny, though, and I would've loved help putting them up but I had to wait for the lights to be up first, so I just thought it would be such a waste to do double work.

Finally, we had the lights on and Benji helped me with the ornaments while the little kids were in bed.  But it still took me a couple more days to get all the other clutter out of there so the tree could have elbow room and not have to share the limelight with my dusty junk.

The meager tree in all its glory

We've been reading The Advent Book before bed most nights
The boys love opening the doors on each page of the Advent book every night.  I'll show some photos of the pages in another post. 

Our "mantel" (the shelf above the TV) was still decorated with pumpkins and gourds:


So, I threw them out and packed up the rest of the decorations.  Here's how it looks now with the Disney ornaments that my grandma had for a few decades (at least) on a "photo" tree I won at a white elephant exchange last year:

Aren't they cute??
After I took these photos, I received some awesome-smelling cinnamon
potpurri in the form of pine cones and decorative balls, so I stuck those in here too.


After having read the first half of this post, I'm sure you're thinking to yourself, Wow, the quality of these photos could not POSSIBLY get worse!! Well, you were wrong!  Don't worry, it happens to most all of you us.


This is our front entryway area.  I put some decorative stones in the bottom of the hurricane and filled it 3/4 of the way with water.  Then, I gently put the candle on top.  I looks cute in person.  Just pretend like you can tell from these horrid photos.

I tried. I really did. I even put new batteries in our Canon, but it just will not power up for some reason, so I'm afraid we're stuck with these blue-tinted android photos. Boo!

But, I won't let that ruin our Christmas cheer!  This weekend, we had snow, so the kids and I went outside and played in it and shoveled the driveway.  They insisted in cleaning off my car (I promise!! Don't call the Child Labor Department!):
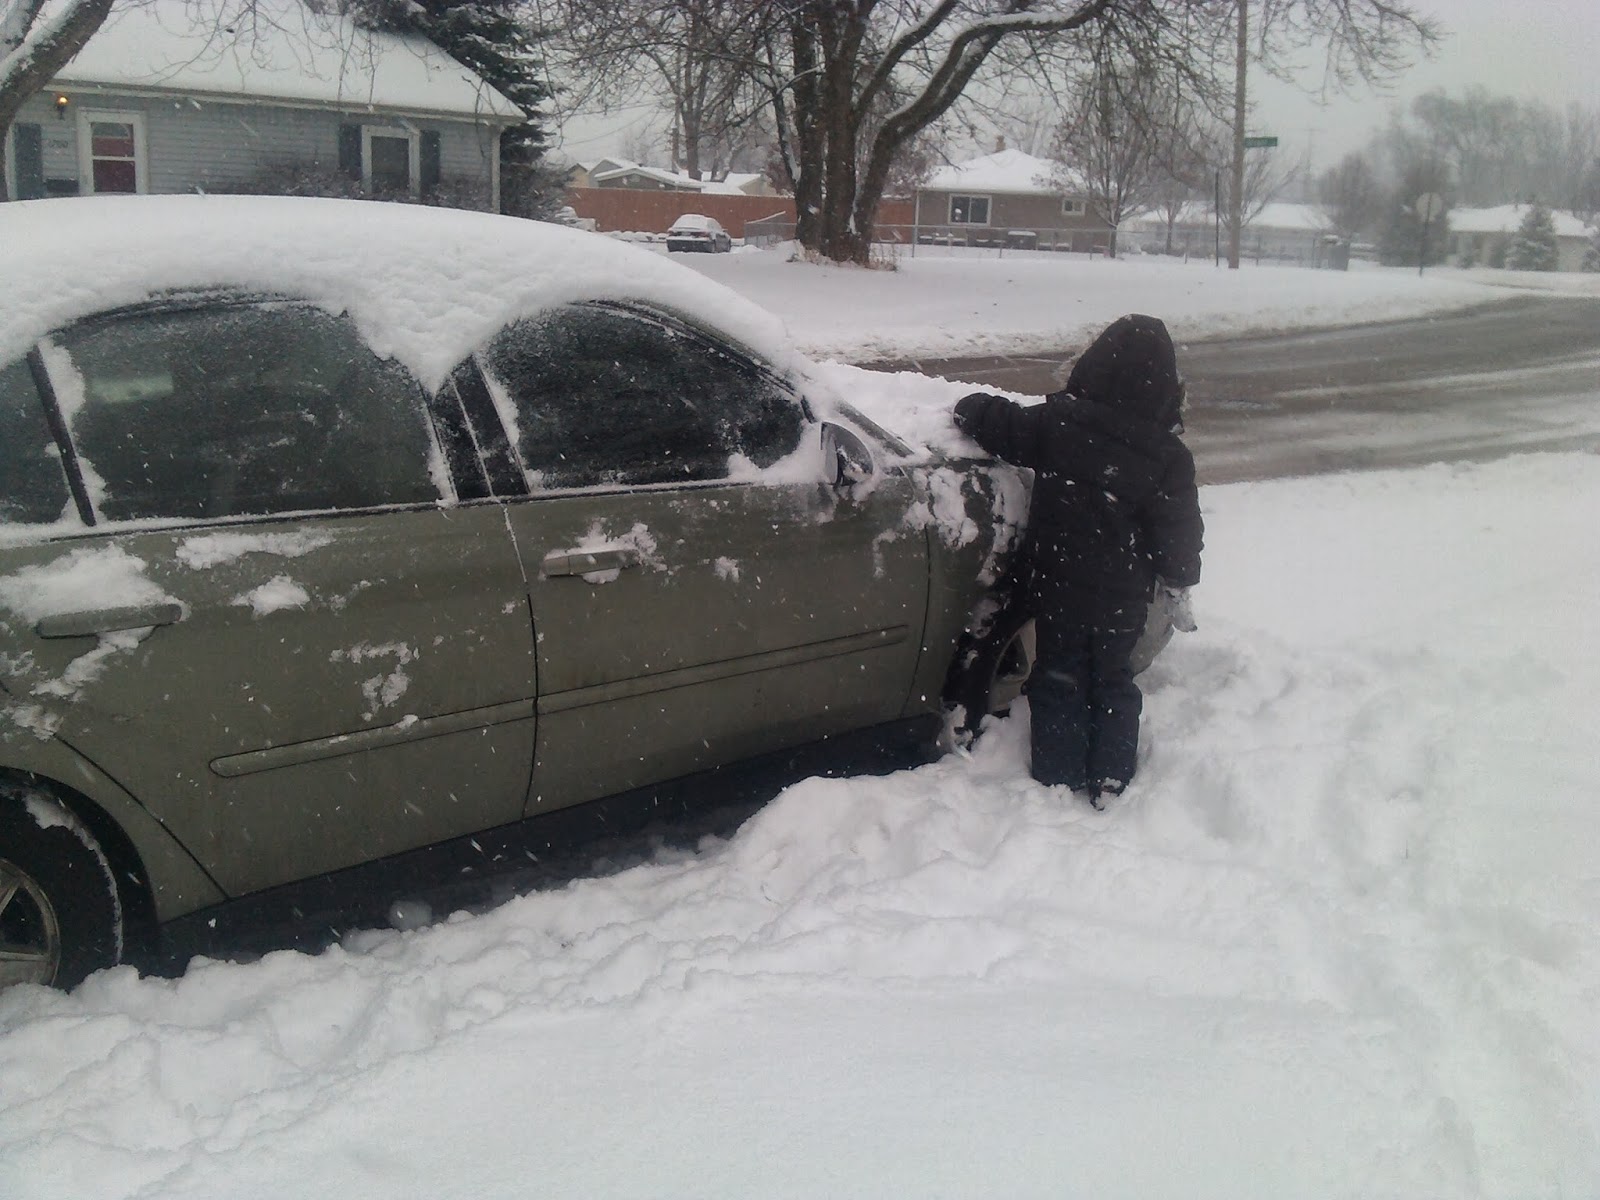


What a fun effect - Is my camera doing this or is Blogger adding it for me??


We didn't get any pictures of us playing but I did shoot a short video of when we first went outside.
The Aftermath - I love this mess

By the time this post is published, we will be on our way home from what looks to be an awesome weekend at the Dells with our family and some good friends.  I'm so excited to be together for a whole weekend without having to rush around to do anything.   Hubs has been working nights the past two weeks, so we're both exhausted! Speaking of, let me just give a quick shout out to all you single parents out there.  Raising kids is hard enough with two parents but to have to be on call 24/7 with no relief (except to go to your job during the day) is a major challenge physically, emotionally, and mentally.   So, props to you, single mom, single dad.  You are a great blessing to your kids every single day!

Merry Christmas everyone!


Friday, December 13, 2013

Projectpalooza UPDATE

Benji often takes my phone and snaps photos all around the house.  As I was looking through my photos one day, I saw these two that he took.  This is our playroom and this is the closest I have come to posting an update on Projectpalooza since May, so I thought I'd at least show you what I had at this point.  There are so many things that I like about this room and it's really hard to see them in these two photos taken by a five year old.


1. IKEA's Expedit shelf - You can see the dark shelving unit on the left, especially in the second picture. We bought six cloth drawers from IKEA to fit in this unit and the other, smaller Expedit unit seen on the right side of the top photo.


We ended up moving the smaller shelf to the position you see it in and putting all of the toy cars (small and medium sized) in orange milk crates we had at the house. CAUTION: I noticed the other day that there are some small scratches on that shelf from the milk crates being pulled in and out. Probably because there are 200+ metal cars in them and they pack some weight!

2. Foam floor mats - We have hard floors throughout our home, so it's nice for the kids to have one softer surface to play on. Also, these don't seem to get as dirty so quickly, but I do try to sweep once per week and then either mop or get on hands and knees with disinfectant wipes every once in a while. Mopping on this textured floor is difficult! Also, if the kids spill or decide to draw on the floor or rip them, they are easily and inexpensively replaced. No, my kids have never done anything like this; they are 100% angelic. Why do you ask?

3. All of their toys have a home and in one place.  We never had that before we converted this room.  The toys were split between their bedroom and the living room.  But, things got lost under beds, dressers, and behind couches all the time.  It was nearly impossible to find all the pieces to a game or a puzzle quickly.  With everything on shelves in one room, the kids know exactly where everything goes easily and their things (usually) get put back where they belong before naptime and then again before bedtime.

4.  Books -  You can't see it in these photos, but on top of the Expedit shelf, we have all the kids' books standing upright, in a row, so they can easily see which book they are grabbing.  I recently did some re-arranging of furniture (impromptu, as always!) and had to take down their book shelf so Calah's crib could fit on that wall.  I put this rolling 3-drawer unit in their room and filled it with their games and puzzles (on the right in the pic below):


My next step is to get the shelf cut in half and put up in this corner and place the extra books that won't fit in the playroom on this shelf.  With our Christmas decorations up, I had to move one of the end tables and a lamp into the kids' room.  I also brought Benji's Cracker Barrell rocker (that we got at a garage sale for $10!) into the room and put it where that laundry basket is in the picture above.  I also brought in their little papasan chair, so now they will have a space to read in their room when they need a "chill out" time.

Needs:

I'm not done with the playroom yet, but we have made a lot of progress in the past few months between other projects, events, and other activities. 

1. A place for art supplies. I do have some organization supplies that were purchased with art supplies in mind.  But, I have three problems.  I don't know where to put them at this point.  I don't know where to put them that Calah and Jo won't just make a complete mess of them every five seconds.  And we have a very small, fold-down table in the living room where the kids eat (part of the sacrifice we made when we moved the toys into the dining room), so they'd have to carry the art supplies to the living room and there's not a whole lot of space for creativity.  The floor is NOT an option with an 18-month old in the house.  I'm strill trying to figure that one out.

2.  Wall art. I have two pieces of art that need to be hung and would like to get some stenciling words up on the wall, too.

3. New labels for some buckets and labels in general for others.  I made my own labels with pictures for the buckets on the Backyardigans bucket shelf (you can see a tiny corner of a pink bucket on this shelf in the first picture on the near right) but some of those labels have been torn off.  And I need to make some labels for the cloth drawers that will stay on but not ruin them if I want to remove them.

I tried to get some pictures with our Canon the other day and even with new batteries, it kept saying battery low and shut off, so I don't know if it's dying on me or if it can be fixed. Once I figure that out, I can take some good photos.  My android is not the best - as you can tell by looking at 99% of the pictures on my blog.  They have a blue hue and are blurry.  I have reset the settings to the default and it helped a little but it's still not great.  

Hopefully, I'll be able to send another update to our progress before another several months pass by.  Thanks for being so patient with me!

Monday, June 17, 2013

Garage Embarrassment Phase I

In the six years that we've lived in this house, we have cleaned out the garage probably 15-20 times.  No matter how great it feels to have it cleaned and organized, over time, things get thrown in the garage haphazardly and since it's our only real storage space, a few tons of stuff have found a home there.  When we first moved in, we had 40 sheets of 4' x 10' FRP paneling that I got for free when my company was changing out our decorative paneling line.  However, we never got around to installing them anywhere, so we ended up giving them away to some people that could use them.  The panels sat in the garage, taking up precious space, for about four years. 

Then, we had an unfortunate run-in with a very large piece of furniture.  (NOTE: My suggestion is to NEVER buy furniture from Harlem Furniture/The Room Place.  I've heard nothing but bad reviews from people I know.  The quality is not great, to say the least.)  That furniture sat in our garage for about two years in the hopes that we would move and repair the rips in the leather.  We had to make the hard decision to get rid of it because it was taking up almost half of our garage and with no move in sight, we just couldn't afford to keep it.

In April, during Projectpalooza, (I know, I know - I still haven't posted pictures!) a couple friends came over to move our huge dresser and armoire from our room to the garage. I had hoped to sell them because they were still in great shape.  However, they are about 20 years old and the style shows it.  I posted them on a local garage sale site, but no bites.  So, we donated them for a tax write-off just to be rid of them because there's no room in our current place to keep them. 

With all these big items getting their eviction notices, the garage was looking much better.  We had even cleaned out the other half of the garage sometime in April but we never got to finish our work.   When the dresser and armoire got moved to the garage, they blocked the main walk way and other junk just started piling up on and around them again.  We had to bring buckets and bins out of the house for Calah's birthday party a couple weeks ago and building materials from Projectpalooza were all over the place. 

To say that it was disorganized is an understatement (You'll see the photos - preparing you now).   During the party, I opened the side door to get something out of the extra refrigerator and immediately wanted to die.  There was no room to walk on the actual floor of the garage.  There were heaping piles of stuff everywhere.  I.WAS.MORTIFIED.  And I found out later, my parents and a couple other people saw it all and even tried to get in there.   

I just couldn't believe it had gotten that bad again after we had just cleaned the left side a little over a month before the party.   The furniture was all still in there at the time, so that didn't help things.  On that Tuesday after the party, the Habitat for Humanity ReStore came to pick up the furniture to be donated.  We took the ripped couch to the curb for the garbage man because the ReStore couldn't take it due to the rips.  We had three extra tube TVs that we didn't use anymore, so those got recycled.  That opened up the space quite a bit but we still couldn't really walk in there.

So, moment of truth (please be kind!), here are the photos of the garage after we got rid of the big items and started moving some of the bikes and other kids' toys out:


::Exhale::  I feel better now that that's out there. 

During the clean-out, I just kept breathing and telling myself that we had to do this one step at a time but that we WILL get there and soon.  You can see in the photos that we do have lots of shelving space, provided by my mom when we first moved here.  They are industrial-strength, metal shelves and can hold a LOT of weight.  Also, they're stackable, so we have some room to play with how to organize the space.

By the end of the night on Saturday, we had gotten about 80% of the garage cleaned out.  Our goal for the day was to decide what we would keep, donate, and trash.  The one area that I did finish completely is my gift wrap/craft shelves.  I had started a business a couple years ago for custom gift wrapping and decided to take a long-term break from it, so I still have a LOT of inventory left over.  I am proud of how that area ended up!  

Hubs brought five large buckets of the kids' clothes in to the house for me to sort through.  I decided to organize them by season since the boys' sizes aren't changing so quickly at 5 and almost 3 years old.  I put clothes in buckets by Fall 2013/Winter 2014 and Spring/Summer 2014.   Then, I labeled the buckets with duct tape by naming them by season.  I consolidated them into three total buckets and I didn't even throw anything away.  Some of it was our clothes, which got its own bucket.   And some of it usable for Summer this year, so those stayed in the house.  My next step is to clean out the two boxes of clothes we received from a friend to see what sizes/seasons the clothes are for and put them away accordingly.  I also feel like I need to weed out some of the clothes in the kids' drawers again.  I plan to do that tonight because it's my only night for the next two weeks where I have nothing else going on and that's the most dangerous thing to a cleaning routine in my house because it means we will come home and just drop everything wherever we stand.   I took the buckets of sorted clothes back to the garage and stacked them neatly so we could easily find what we need later.

The end result: We have a lot of garbage for the curb this week and a few bins of stuff to donate.    I wish I could say that everything got put back in the garage where it should be and in an organized fashion but it's not. 

That will be Phase II.  The next two weeks are crazy busy with different appointments, parties, and outings, so it will probably be a while before we get to Phase II, but I will be sure to include lots of photos when it's done.

Thanks for reading and I hope my garage hasn't horrified you too much and that we can still be friends.


Friday, June 7, 2013

Fabric Scrappy Tutu Finale

Back in March, I posted about making a fabric scrap tutu for Calah's birthday party.  Well, since her party was this weekend, I got to put it on her finally!

I felt like it was lacking some depth:

So I added some pink glitter tulle to it by tying pieces of it onto the pink fabric scraps, then wrapping a longer piece around the waistband and tying to bows in the front.  This reminded me of the cartoon version of Cinderella when the mice were making her dress.  For some reason, I remember those bows they put on the dress more than anything.  If mice were great tailors in real life, I might not be so quick to boot the occasional field mouse out of the house!

Anyway, this is what it looked like on baby girl:


She's so beautiful, isn't she??

Happy birthday Calah Joy!  We love you and your silliness more than you will ever know.

Tuesday, May 21, 2013

Veggie Garden and Paralegals

I haven't had too much to write about lately which is an indication of how much our schedule has slowed down.  I can't believe we're at the end of May already.  Benji will be starting Kindergarten in just a few months!  He is very excited and we are excited for him, too.  I think he will really enjoy having the structure and learning something new every day.  I think it will also be good for him to get a break from his siblings for a few hours every day since they are at home together all day during the week with very little separation.  My house is tiny so there's not too many places he can go without them finding their way to him.  They love him and he loves them very much but I think he would benefit from getting out on his own and making some more friends. 

I created a Summer Family Bucket List for us this year and we've already accomplished the first thing! I was planning to wait until June 1st because for some reason that signifies summer to me. Not sure why since it's clearly still spring but it just feels like summer.  We went to the zoo the day after Mother's Day and we are planning to go back again this weekend sometime since we only got to stay for a few hours last time.  Every time we go, we try to see something different and I believe we have seen everything at least once in the five years we have held membership.

Hubs is almost done with our veggie garden (my mother's day present), too, so we'll be able to scratch off # 12 in the next couple of days.  We planted tomatoes, cucumbers, strawberries, watermelon, and sweet peas in our raised bed.  And I got brave and bought blueberry and blackberry bushes.  I'm the type that sees something I like and just grabs it and brings it home.  I had no idea how to take care of these fruit bushes.  I DID read how big they will get (2'-3' for the blueberries and 4'-6' for the blackberries - or vice versa, I don't actually remember).  But what I didn't realize is that the blackberry bush will get VERY thorny.  So I guess we'll have to build some type of fence around it and remind the boys to stay away from it.  Here are a few photos of our progress so far:


Tomato plants - we actually opened the bed back up and extended it another 8' because we bought more than originally planned and still plan to buy some peppers and possibly carrots.


Here are the blackberry and blueberry bushes. This spot gets a lot of sun during the day which will be great for these fruits.  The ground looks very dry here but it has rained twice since we planted these last week.


On another note, I finished up my Paralegal Certification Course on Sunday, the 19th.  It has been a great six weeks and I really did enjoy going to class every weekend.  I feel like I learned a lot and now it's just a matter of finding a Paralegal job.  Anyone know of any law firms hiring Paralegals in Chicagoland?? I could really use some help in the networking area.  I have been sending in applications and have had one interview now in the past three weeks.  I know this isn't the most efficient way to find a job.  I need to talk to people in the field.  I have been thinking about joining the IPA to meet some paralegals and gain access to some resources to help me find a job and learn more at the same time.  I'm excited to start this new path but am nervous to be honest.  I have moments of self-doubt although I did very well in my class and our instructor called my last assignment "awesome" and she wanted me to send her a copy electronically.  Maybe that will be a resource for my job hunt.   Would you pray with me as I start this journey and maybe even think of opportunities that may open some doors for my next steps? 

Friday, May 3, 2013

Projectpalooza

Last week, Hubs was out of town for a conference for three days.  I took vacation days so I could stay home with the kids and quickly decided this would be a good time to work on some of the projects that are on our list but we haven't taken the time to finish.  I wanted to surprise him when he got home, so I emailed some of our friends and my dad to let them know my intentions and requested their help.  So, I set up some help for the first day, Wednesday, and figured I could do the rest of it on my own.  I need to take some 'After' pictures before I can post the results, so this is just a teaser for now. ;-)

Here's the list of the things I wanted to work on:
  1. Fix back spigot (the pipe had leaked about four years ago; we stopped the leak but never patched the drywall.  It's been hiding behind our filing cabinet this whole time.  Then, two summers ago, the spigot for the garden hose broke.  Good thing we procrastinated on fixing the drywall, eh? I guess it CAN pay off :)
  2. Patch drywall after fixing spigot
  3. Paint drywall (this hole is in the now-playroom)
  4. Remove the old desk from the playroom this room used to be the dining room/office because we only have two bedrooms and no basement
  5. Remove the filing cabinet from the playroom
  6. Lay down the rest of the foam floor mats in the playroom once the drywall was done
  7. Setup the playroom
    1. Add reading nook
    2. Purge and reorganize
    3. Hang chore chart
    4. Hang cork tiles for artwork to hang
  8. Clean out back entryway and give it a new setup
    1. Add bench with storage (I liked this idea because the kids can sit on the bench when we're about to leave the house while mom and dad are rounding up the last few things.  Normally, we just have them stand at the back door once they're ready.  This is a great way to relieve stress when getting ready to leave the house as well as a great way to ensure they're not making a mess elsewhere, thus making you LESS ready.  With the bench, now they can sit!)
    2. Add shelf with hooks - My goal was to add hooks and a small shelf on which we could decorate and/or put a couple small baskets for things like keys, sunglasses, etc...  I was really concerned that it would become another clutter-magnet in our home, so I had to be intentional.
    3. Move current cubby shelf to the front entryway
    4. Add faux wainscot look - Add 4"-6" vertical strips with a trim piece on top and paint it white.
  9. Create faux wainscot look in bathroom
    1. The same strips as in the back entryway
    2. Add hooks on that same wall for towels
  10. Convert our old closet into a cloffice
    1. Remove all the shelving and junk in the closet
    2. Remove Calah's dresser from the closet
    3. Have some friends haul out our large dresser and armoire from the 90s
    4. Add desk, shelving, internet access in cloffice
    5. Find storage space for items that came out of the closet like our luggage and my wedding dress that won't fit on the top shelf
I think that was the entire list for the three days I had. We have more on our list that will have to get done later.  This was definitely enough considering I still had to study, write several legal documents for an assignment, and take care of the daily stuff like the kids and the house. 

So, I will be posting some photos and project updates over the next couple of weeks.


Have a great weekend!

Thursday, March 28, 2013

Simple Easter Mantel

We don't have a mantel, per se (no fireplace here!), but we do have a shelf above the TV in the living room and it's usually a junk collector (and dust collector). As if they need an introduction, here are the before pictures:


Full disclosure: I forgot to take the before pictures and had already cleared off the shelf. So, this was waaay worse than what you see here. I was too lazy to put the clutter back up :)

If you know me, you know my house is too small for our family. You also know that my house is in a constant state of chaos, as is our schedule. Hubs and the kids are home during the day and then we are usually running around at night doing different errands, obligations, etc... so there's rarely a moment where everything is picked up, dusted, vacuumed, wiped down, and just perfect. It's just not realistic. BUT...since we aren't able to sell it for a while, we are trying to reorganize so that we can fit better and the kids have room to play. Once this is done, I feel like we can get on to a schedule and cleaning rotation that won't be too daunting. HOPEFULLY.

Last week, I bought some speckled eggs to display for Easter for 50% off at Joann Fabrics, so I bought two packages for a total of $9.99! Score for sure. I don't have an overabundance of cool items in which to display them and I cannot get to my ribbon right now, so I wasn't sure how it would turn out. I remembered that I had two identical clear, tall vases that we used at a fundraiser last year, so I gave it a shot.

I think it turned out pretty well.  What do you think? The wall art is actually the inspiration for our playroom, but since we're still working on that project, it's  been sitting on the mantel and I thought it went well with the eggs, so I left it there for Easter.


The bunny is one of those singing-and-dancing novelties my mom likes to buy for the kids at holidays.  They love it and can listen to it 100 times per day.  I'm sure you can relate!  So, needless to say, I felt that he had a place in our holiday decor.

When we were at IKEA a couple weeks ago buying the bookshelves for the playroom, we also bought doors for our entertainment center and hadn't put them on yet, so I figured I would try it out.  I'm not great with tools as I normally don't read the directions; I just "figure it out as I go".  Hubs has had to come behind me and re-do things plenty of times. I'm just impatient by nature.  But this looked pretty easy.  And it was.   Here's how it looked before the doors - very cluttered and dusty in there. 

The TV stand that holds our DVR, DVD player and video game consoles

See all the dust and random junk on those shelves?  And that pile of paper to the left?  That's mostly my scrapbook paper that used to live in the dining room and was  removed when we started to convert it to the playroom and just haven't found a place for the paper yet.

Here's how it looked afterwards:


Ta-da!  It only took me about 10 minutes on each door and that includes opening the packages and reading the instructions.  Not bad, eh?  In all, I only spent about 30 minutes total (including installing the doors) and it looks 100% better than it did.  Now, I just need to install a clutter repellent and we'll be good to go!

Also, I realize that it may seem odd to some of you that this is an "after" picture when that paper pile is still sitting there.  But, my focus was on getting the entertainment center organized and cleaned off.  The papers are for another day.  If you notice, there are toys hiding out underneath it even.  Not cleaning under, inside, or around; just the entertainment center itself.  I will eventually organize the things inside of the cabinet. But not this week.
I think that's a good lesson for us sometimes.  Stop trying to do too much all at once.  You have to do one thing at a time or you will constantly feel like you've failed.  That's my encouragement for the day and I hope you liked my project!


Oh, and I hung up the kids' Easter cards from their great-aunt.  And yes, those are blank picture frames.  I need to get some updated pictures of my family for those.

Happy Easter everyone!

Friday, March 22, 2013

Birthday Girl Scrappy TuTu


Our little girl is going to be 1 in May and I wanted to make her a tutu to wear to her party.  Well, I've never made anything like this in my life and I can't even get my mini sewing machine threaded properly.  Thankfully, there are cheap classes at the local craft stores but I won't have a chance to take one before the party, so I decided to make her a fabric scrap tutu.  I've seen tutorials all over Pinterest and I must admit, it looked very easy.  Even to someone who is not naturally crafty and has never sewn before (other than hand-sewing buttons that pop off of a shirt). 
 

So, I ventured off to the fabric store and was IMMEDIATELY OVERWHELMED!  So many patterns, so many fabric types, so many colors.  Oh my; I'm on my lunch break.  How in the world will I choose within an hour?? I had a feeling that might happen, so I decided before I got into the store that I was looking for a pink and soft blue combination.  I also have a newfound love for owls and have started collecting owl art, so when I saw this chocolate brown, 100% cotton fabric with the vibrant-looking owls (that were staring me down!!), I had my starting point.  I like some variety, so I got one print and one solid that would match.

I started off by measuring her waist (in my mind.  I would love to say I actually took the time to measure her, but I really just estimated based on how big her pants are) and adding about an inch to that since her birthday is still two months away and I want her to be able to wear it throughout the summer.  I was, after all, planning to pour all my blood, sweat, and chipped nail polish into this. I need it to last!  You can either tie a knot in the elastic or sew it into a band.  I was brave and hand-sewed it about 1/2" from the edge.  It was really easy. I just made a criss-cross pattern.


I also eye-balled the length of her femur to get an idea of how long the scraps needed to be.  I wanted the tutu to land just above knee-length but I also had to account for some length to be lost once I started attaching the scraps to the elastic band.  I'm not real technical with these types of things, so I just "guesstimated" and figured she could always wear skinnies or leggings underneath if the skirt was a little too short on her. 

Next, I laid out my fabric and measured 21" lengths (about 1-1/2" wide) and cut up all the fabric I had bought at the craft store. I bought 1/2 yard of each of the three fabrics above.  Since this is a new thing for me, I really wasn't sure how much I would need but I figured I could make a hairbow or something out of the left over scraps - or another, bigger tutu for Calah or even another tutu for a friend.  Now that it is finished, I can see that I probably would have been okay with 1/4 yard because I did end up having enough to make another one.  Lots of new baby girls on their way, though, so I'll get some use out of these for sure.

 
At this point, I turned to one of the tutu-orials (I crack myself up:)). Here's what I did:


1. Put the elastic band around an object that would keep it in place.
 
I used this tissue box because it was handy

2. Fold the scrap in half, then thread the loop end through the elastic band and pull the loose ends through. Repeat until the elastic band is fully covered. I put my thumb under the loop and pulled on the loose end to tighten without pinching the elastic.


3. To finish it off with some texture, cut the ends of the fabric at an angle.


There.  It's all done.  I love it - especially because it's not perfect; it's juts fun!  I plan to pair this tutu with a white onesie with an iron-on; I'm just not sure what kind I want yet.  The only other thing I may do with this is add some pink tulle that I have at home just to fill it out a bit more.

I do have to say that the cuts are nowhere near perfect and the fabric does fray, but since it's just for her to wear at her party and around the house, I really wasn't that concerned about that.


When it's 100% ready, I'll have the model take some pictures for you all to see!

What do you think?

You will also enjoy...